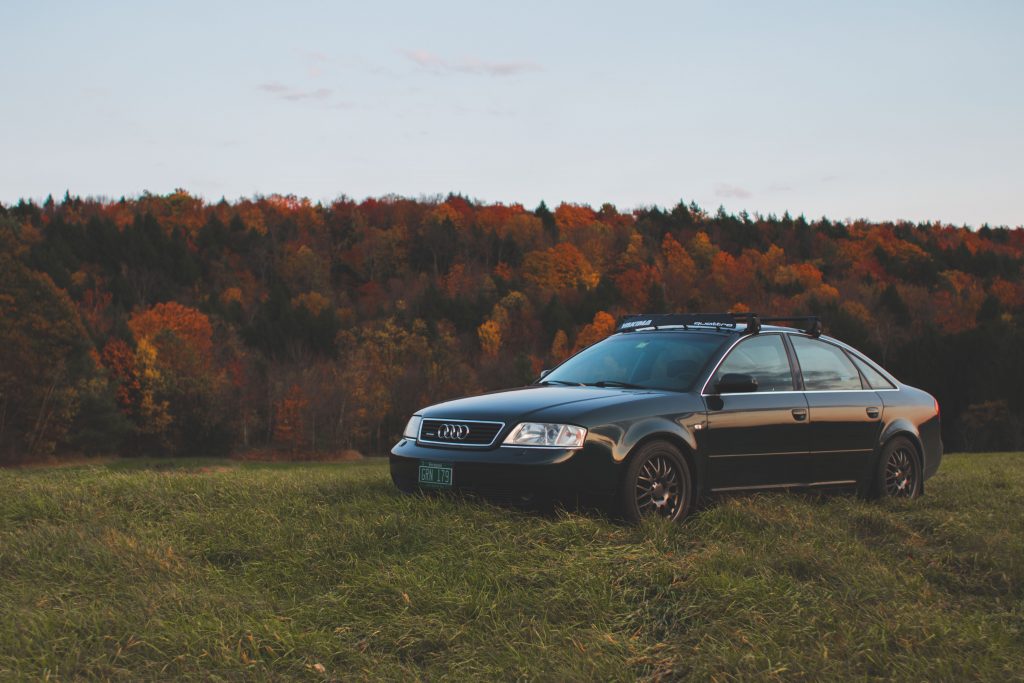
I started working at Rovers North as the web manager in the fall of 2015 and shortly thereafter realized I wanted to own another Land Rover. I definitely didn’t want anything new enough to have a computer, ECU, BCM or any of those stupid things. I had just sold an Audi with electrical issues, and if I never had to diagnose communications issue again, I could die happy. I didn’t want a Defender; they can be expensive and coil springs are for quitters. At least that’s what I’m going to tell myself so I don’t have to save money for the next 12 years to afford a D90.
After a few months of working here, I had narrowed it down to a Series – and not just any Series. I knew I didn’t want a 109″; I have no use for the extra seats and I didn’t like the idea of extra length when navigating through trails. No offense to those of you who own one… but I absolutely didn’t want a bugeye. The first time I saw one of those I thought a novice shop had tried to repair a Series after some gruesome accident and had no before photos to go off of. I also didn’t want a late IIA with the lights out on the fenders. Yes, I said fenders. This is America. Deal with it.
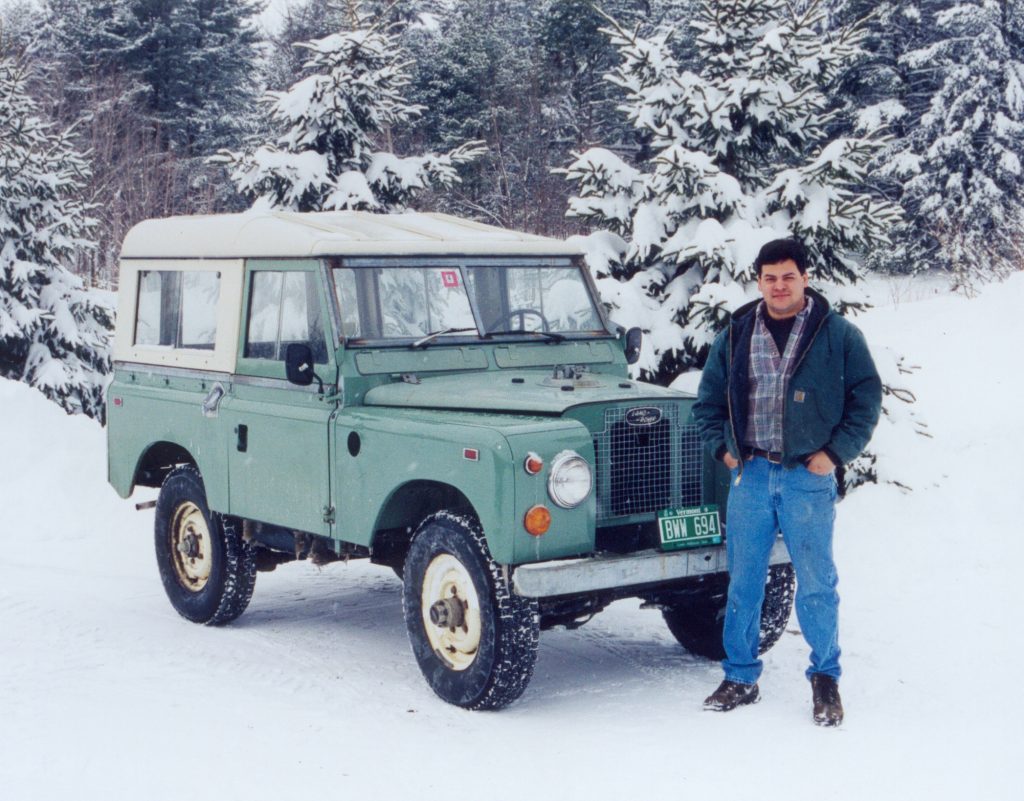
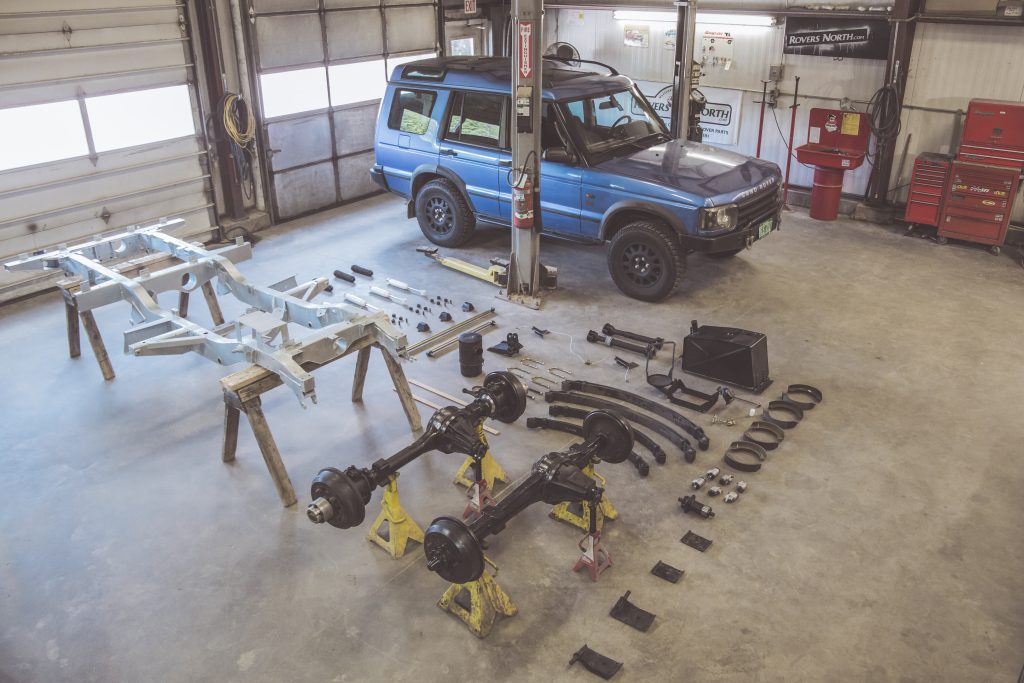
No, I wanted an early Land Rover Series IIA 88″, headlights in the grill, with a canvas soft-top in Marine blue and limestone wheels. As it turned out, that following winter Rovers North purchased that very car to take apart for sales training. The plan was to build it back up for the use of training new salesmen and product testing. After blowing the truck apart into a million pieces, it was put into storage for a few months. During that time a few parts were sold to customers in need. The engine was seized and scavenged for parts. It stayed in boxes that way for over a year.
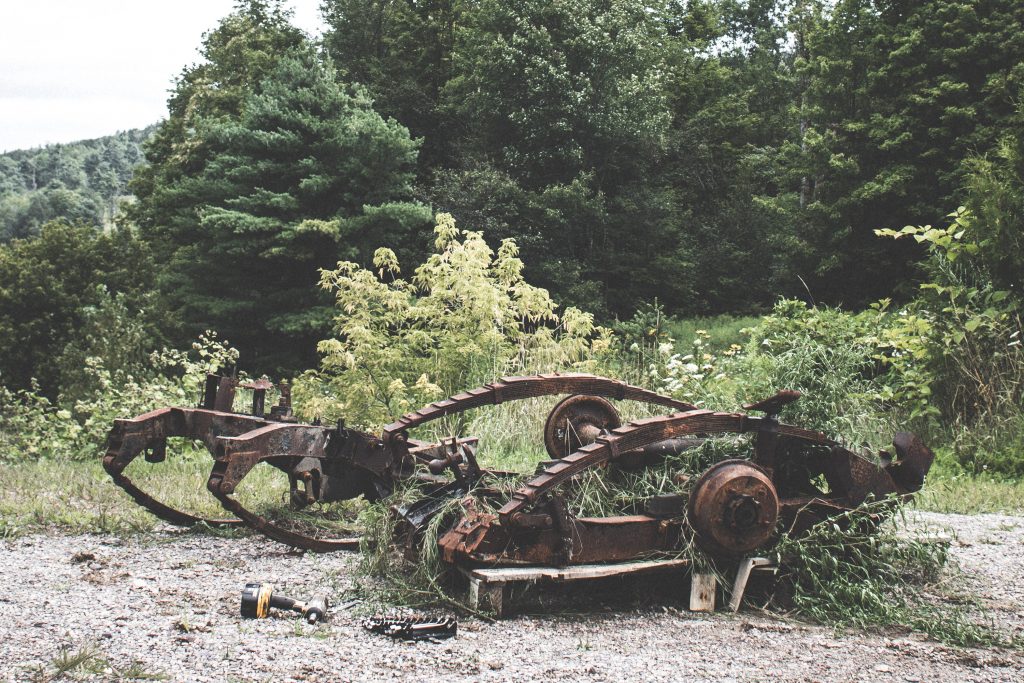
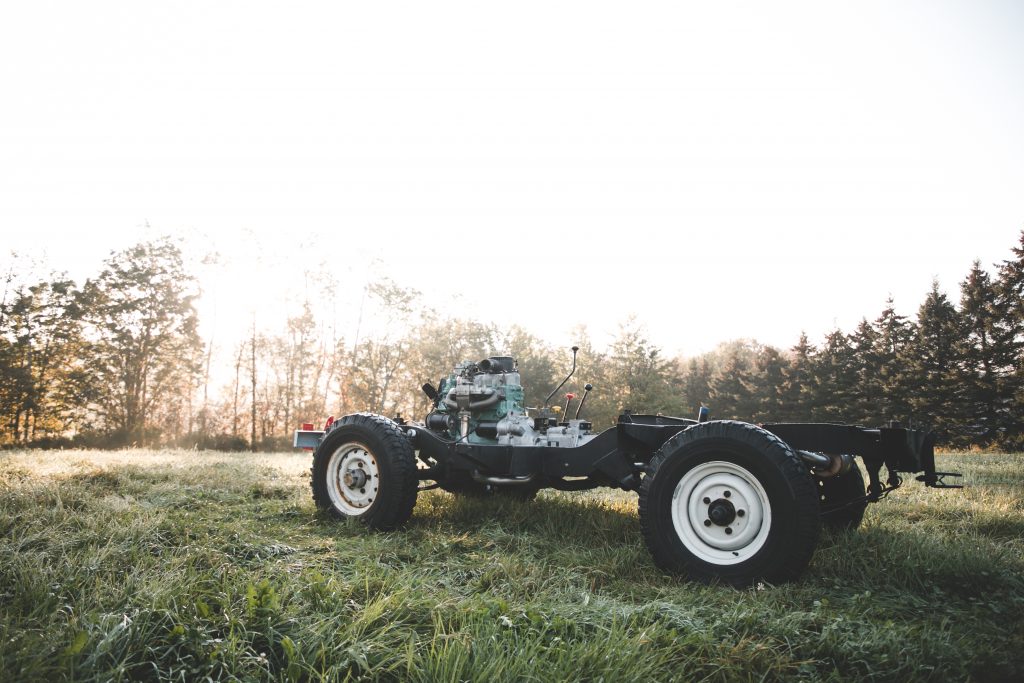
At the beginning of September this year, I finally managed to buy the project from Rovers North. Above is what I was starting with. The frame folded in thirds under its own weight when the body was removed and it was picked up by a forklift. The truck was purchased in Maine and lived it’s whole life there, so this seems like the right amount of rust for a 50-year-old truck in the rust belt. I wasn’t certain it was going to buff out…
So now I was officially the owner of a 1968 Land Rover Series IIA 88″ without a frame, engine, or even usable axles. I spent a few days asking around to see if anyone had a set of axles I could purchase and I was striking out. I knew we had a set of 109″ axles kicking around the shop but I was told they wouldn’t work for some reason. I’m fairly impatient and decided I could turn them into usable axles quicker and cheaper than sourcing the correct axles.
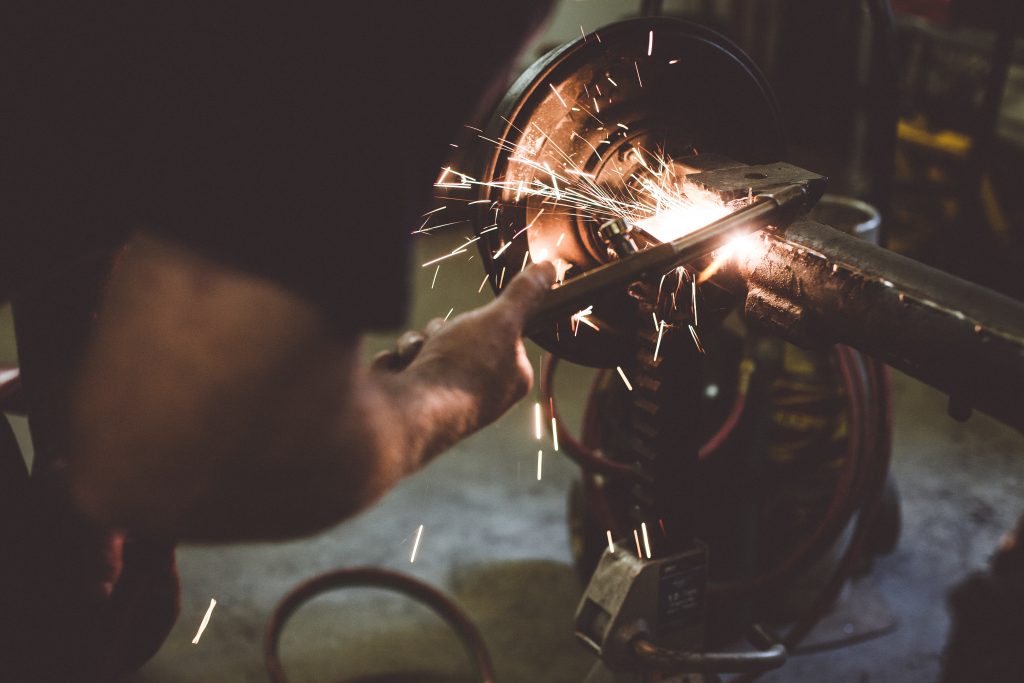
Cutting off the 109″ spring perches. I’m not sure if taking a photo of this was good for the sensor on my camera
After measuring the axles on a coworker’s 88″ I was able to see the difference between the two axles. I would be able to use the front axles from a 109″ no problem, plus get sweet bigger brakes, but I would have to move the perches and all the boxing supports on the rear axle a few inches in. All in all, it only took a little over an afternoon to convert the rear axle into a usable axle and I only had to tack on the perches three separate times until I was sure they were square. I also should have taken a photo of the measuring process. It involved a laser level, tape measure, regular level, plumb bob, and copious amounts of kite string. It was impressive but I haven’t mastered the art of running my camera with my feet while holding a tape measure and level with my hands.
The following weekend I spent way too much money buying all new suspension, brake components, steering stuff, and a fuel system…. Oh yeah, and a chassis. I’m not sure how the rest of you Land Rover owners deal with your bills for these restorations but I’m taking the approach of as long as I don’t look at it, everything will be just fine.
I also figured I work for a Land Rover parts seller, with other Series owners, and plenty of local connections. It would be the easiest car of the fifteen-ish I’ve owned to get parts for. I found out how wrong I was within two days. Yes, I made the 109″ axle fit the back of an 88″ but there was no way to make the spring plates that hold the spring and strut to the axle work. I found a used one in storage here but couldn’t find a right hand one. They are NLA from Land Rover. I tried ordering from three different online shops in the UK. They all happily took my credit card and said they would ship in three-five days. I got an email from all of them a few days later saying they couldn’t get the part. On the fourth attempt, I finally found someone recreating the plates and for $150 and two weeks later I was able to get a small piece of flat stock with five holes in it and a rod coming from one side.
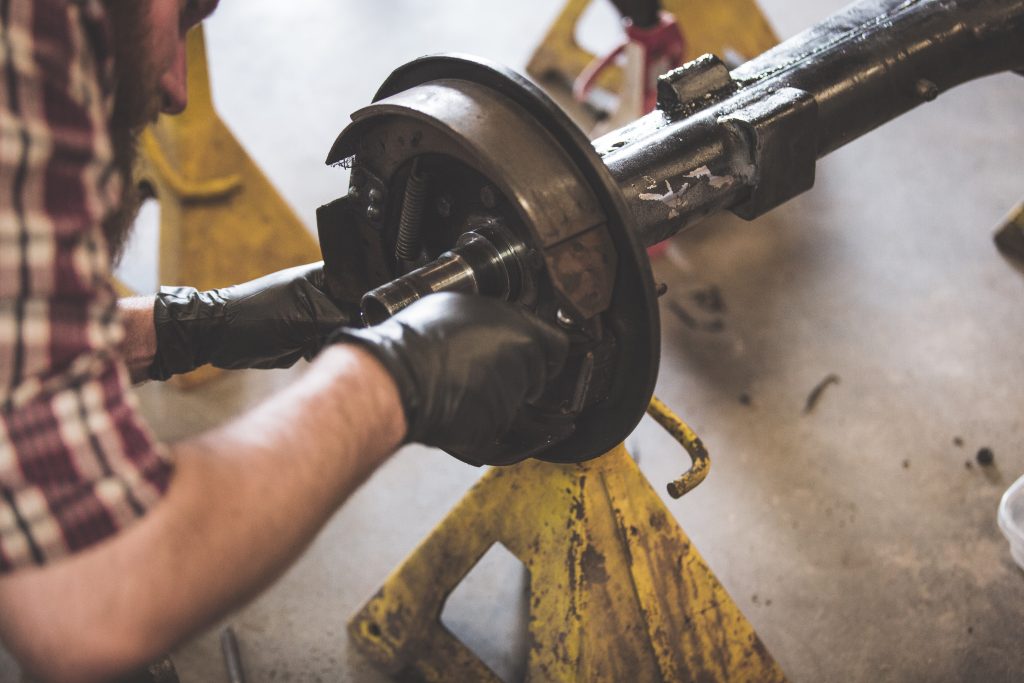
While waiting for the worlds most expensive piece of steel to show up, I got to work rebuilding the axles with new seals and brakes. I didn’t know where these axles came from or what condition they were in so I decided to clean, paint, and replace everything. It only took one attempt on the back to rebuild them and get them holding in gear fluid better than most Land Rovers I’ve seen. Up front was another story. It took two attempts and I believe Rovers North’s entire stock of Hylomar to get the axle to leak less than the Exxon Valdez (seriously watch that, trust me).
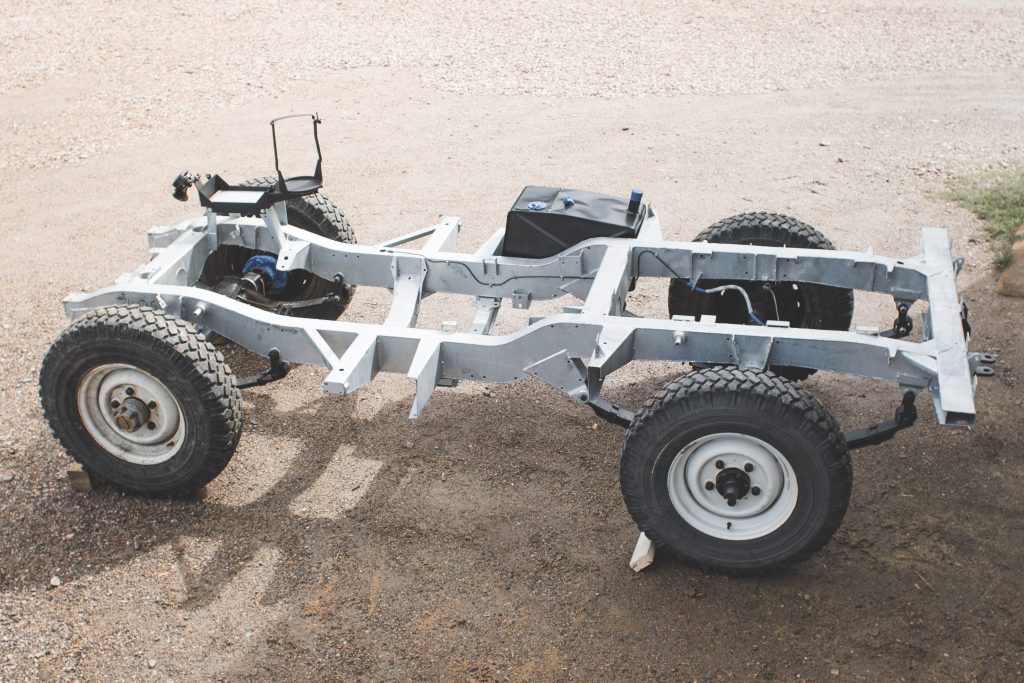
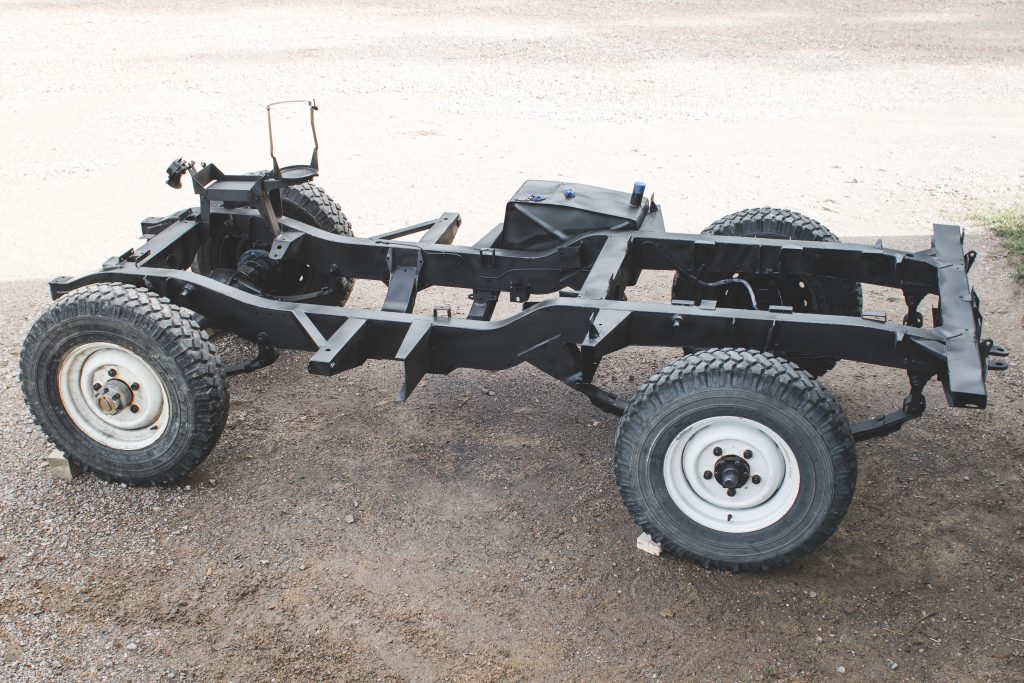
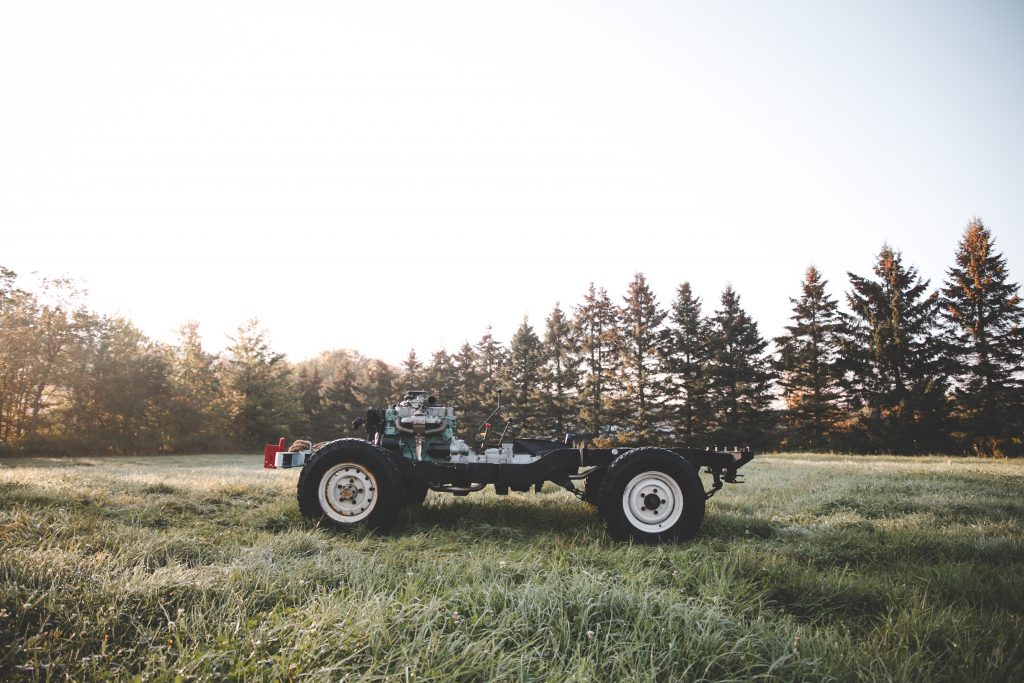
After I was sure both axles would last more than a week before needing to be topped up with more Amsoil gear oil, I fit them to the new galvanized frame with a new set of parabolic springs and ProLine hardware. I found some spare mismatched wheels lying around so I could roll the chassis around the yard. From there I fitted everything I could before painting the whole frame black. I figured another layer of paint on the gas tank, brake lines, air cleaner bracket and hitch can’t hurt.
And here it is in all its glory. Freshly painted with three quarts of POR15 Top Coat Chassis Black. I went with the POR15 paint for a few reasons: it’s UV resistant, has great reviews online, it was very affordable, but most of all I could get Amazon to prime it to me in two days. I told you before I’m impatient.
I know some of you are asking why I painted the frame. I wanted the Series to look as original as possible (besides the Exmoor soft-top) and from the factory, the chassis was sprayed black. I was never really a fan of ‘Rover Chrome’, but after buying a new frame I can appreciate the desire to have everyone know your Rover has a fancy new chassis.
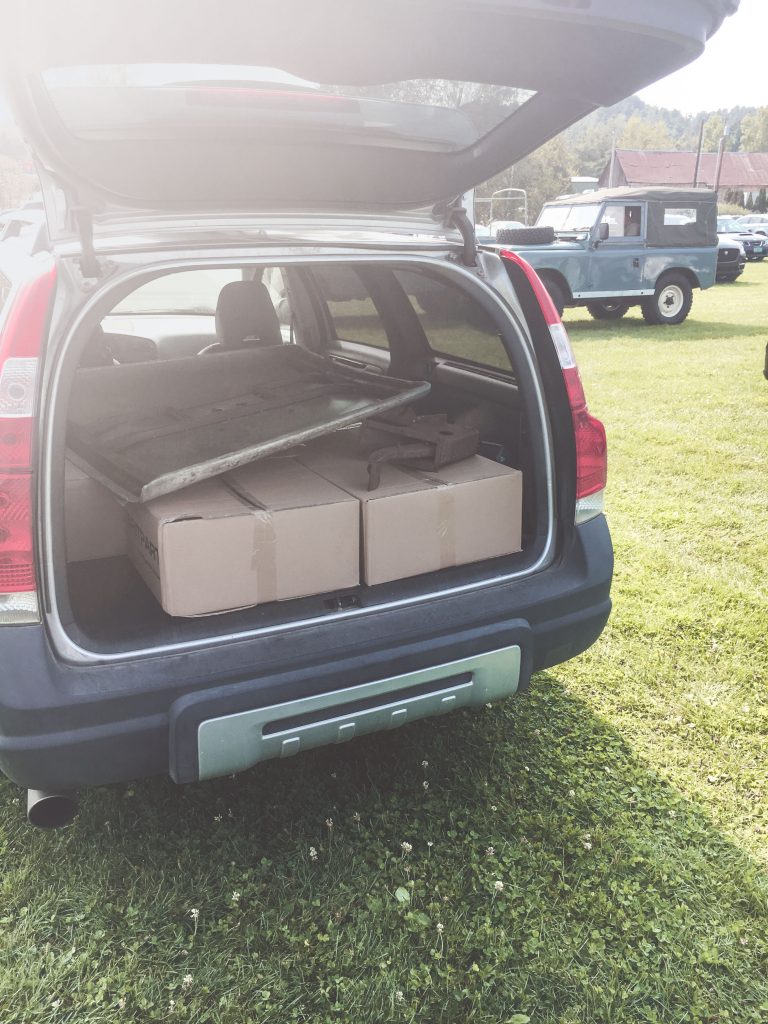
During September of every year there is a British only car show in Stowe, Vermont called British Invasion. I’ve been the last couple of years and there is always a fairly large contingent of Land Rovers there, and even more importantly for me, parts for sale.
I knew there were two major pieces I was missing for my dream Land Rover:
One was a deluxe bonnet. I had never even noticed the difference between the two hoods until a coworker pointed them out one day. The rolled edge of the deluxe bonnet just makes the truck look nicer and less like a Jeep, but it makes lifting the hood easier when you have a tire strapped to it.
The other part I was desperately looking for was a Series III brake pedal box. I really want the vacuum assisted brakes but even more so, I want the dual circuit brakes. I would really hate to spend thousands of dollars and hundreds of hours rebuilding this series, only to have a punctured brake hose cause me to lose all braking abilities and to go careening into the back of a miserable Kia.
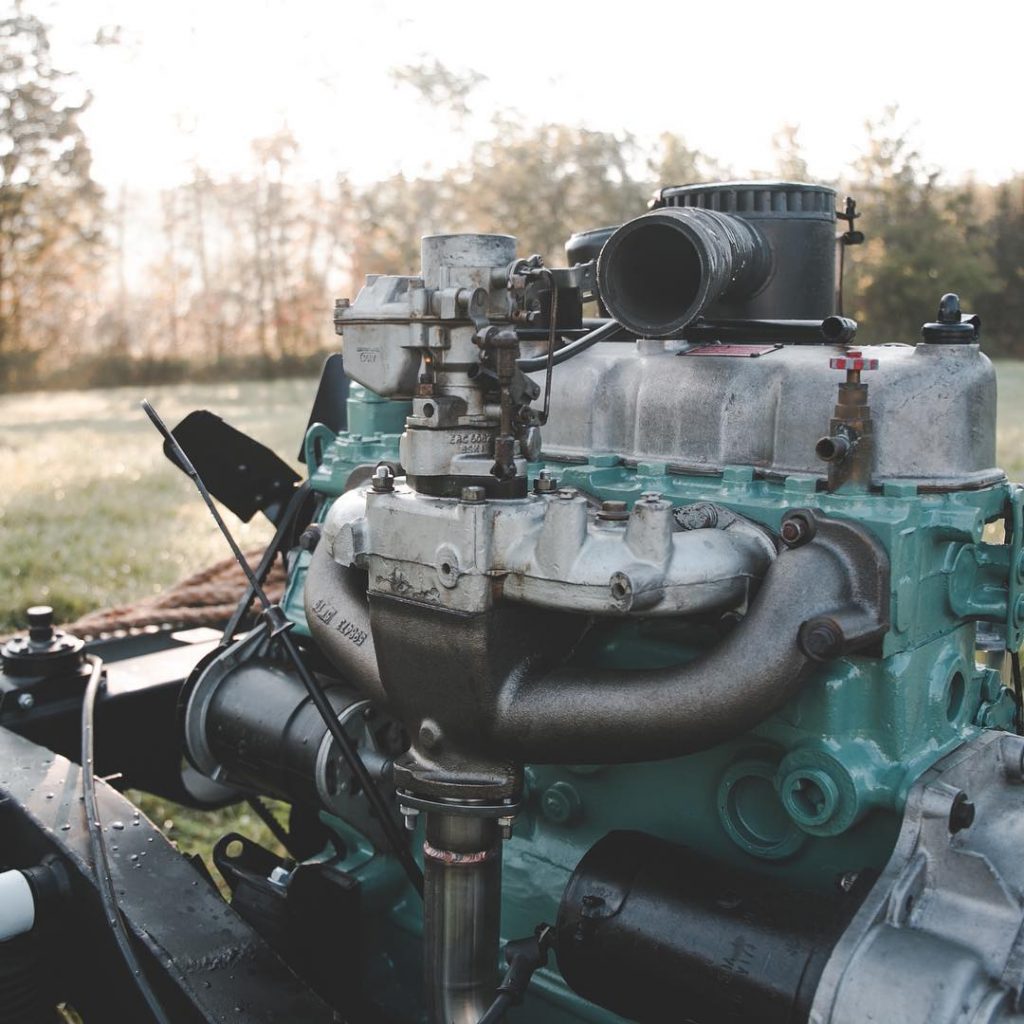
The following weekend was a very long but also productive. The only problem was I was working completely alone and didn’t really have the time or ability to take photos while I was working. It might also have been that I had tunnel vision and just forgot to, but whatever. I completely stripped the used 2.25 engine I found down to just a block and head. I then spent a good part of Saturday wire-wheeling and degreasing the whole thing. Once I was happy with how clean it was I applied 5-7 coats of Detroit Diesel Alpine Green which seems to be the agreed upon closest to factory color out there. While that was drying I quickly sprayed all the accessories satin black, used 4 cans of Gunk on the transmission and transfer case, and rebuilt the dirty Zenith carb.
Once the paint was dry I bolted up all the accessories, reinstalled the transmission, fit the new exhaust manifold, and hosted the thing up using what I believe to be a homemade engine hoist. All I know is the thing is beefy, janky, awesome, and somehow terrifying all at the same time. It was nearing midnight but there was no way I wasn’t going to fit the newly painted shiny engine that night. I wrestled the hoist into position by myself and lowered the engine in and bolted up the new engine and tranny mounts. They didn’t line up very well but I didn’t care; the engine was in and it looked GLORIOUS.
It wasn’t until I returned the next morning that I realized that three of the four rubber mounts I had installed ripped open like Pac-Man. I consulted the original Land Rover shop manual and saw that there were three adapters that I was missing that go between the mounts and the frame. It seemed odd to me to design a frame in a way that requires three adapters to fit your own motor. I shrugged it off and bought three new rubber mounts and the adapters. It was officially in to stay.
The only problem now was I really wanted to fit a new NRP stainless steel exhaust but they were back-ordered. It meant I had to wait two weeks to start up my freshly installed motor. It was so tempting to just start it up with only a manifold but I fought that temptation. If there had been something wrong internally with the engine there would be no way to hear it.
So there it is, the very first start of my new Series…
Ok, I’m not going to lie, you deserve better. This was actually the third time it had started, however, this was the first fully successful time. The very first time, I forgot to put in the oil pressure sensor in, and about $35 of brand-new Amsoil shot about ten feet across the shop in under five seconds. The second time I got it to start, it would immediately die three seconds later and that just doesn’t make a good startup video. The connections in the distributor cap looked like they had a hundred thousand miles on them. After installing the oil pressure sensor and replacing the cap, it started right up like a champion.
The next step in the Series project is to get to work on the bulkhead and I’ve been procrastinating on that for a few weeks already. It’s not ideal. I already ordered all the sheet metal to replace the entire bottom two-thirds of it (Rovers North Parts: CHAS17, CHAS18, RNF0006, RNF0005, and RNF0010 for those that are interested). Once I do that I can throw a new coat of Marine Blue on it, do the wiring, install the bulkhead and then you better believe I’m taking the thing for a test drive without a body while wearing sweet Snoopy style goggles and scarf.
